Flight of a Balloon Displayed in Google Earth
Flying high altitude balloons is fun and extremely exciting. The balloons are small and very inexpensive. They are very light weight. They are so lightweight that you can fly them and their electronics payload without having to register the balloon with the FAA. The on board transmitter that sends the GPS position data from the balloon back to your receiver does not require an Amateur Radio license or registration of any kind. The balloons transmit latitude and longitude (and altitude) back to a small hand held receiver. The latitude and longitude data enable you to follow the balloon flight as it’s in the air. If they are lost in the Atlantic Ocean or land in an inaccessible area the balloon and electronics are very low cost so you will not lose much money.
The most common balloons used are 36 inch Mylar balloons filled with helium. The balloons are sometimes referred to as “Party Balloons”. You can buy and fill them yourself or even buy a large party balloon at a craft or drug store and have them fill it for you a day or two before launching. If need be you can even buy a couple of smaller balloons and tie them together! The balloon(s) will lift about 70 grams (only about 2 ½ ounces). That might not sound like much but all of the electronics are very light so it will not be a problem.
The electronics payload consists of two or three small boards, a battery and an antenna. They all plug together so no soldering is required. The boards are a microprocessor board with an integrated transmitter and a GPS module that receives latitude, longitude and altitude data from the GPS satellites orbiting the earth. This data is read by the microprocessor. An optional board measures atmospheric pressure and temperature. This data is also read by the microprocessor. Using its onboard transmitter it sends all of this data to the hand held receiver on the ground.
Small Inexpensive Transmitter with GPS Board to Receive Position and Altitude Data
The hand held receiver receives all of the data from the balloon which is miles high in the sky and displays it on an OLED display screen. You can see the altitude as it increases and the position of the balloon over the ground as it floats higher and higher and further and further away. It consists of two small electronics boards, an OLED display, a battery and an antenna. The boards are a microprocessor board with an integrated receiver and a board with an SD card that saves all of the data from the balloon. The OLED display shows all of the incoming data in real time. The antenna is a directional antenna which is pointed in the direction of the balloon to receive the transmissions.
Receiving Data from the Balloon (Antenna Dipoles Should be Held Vertically)
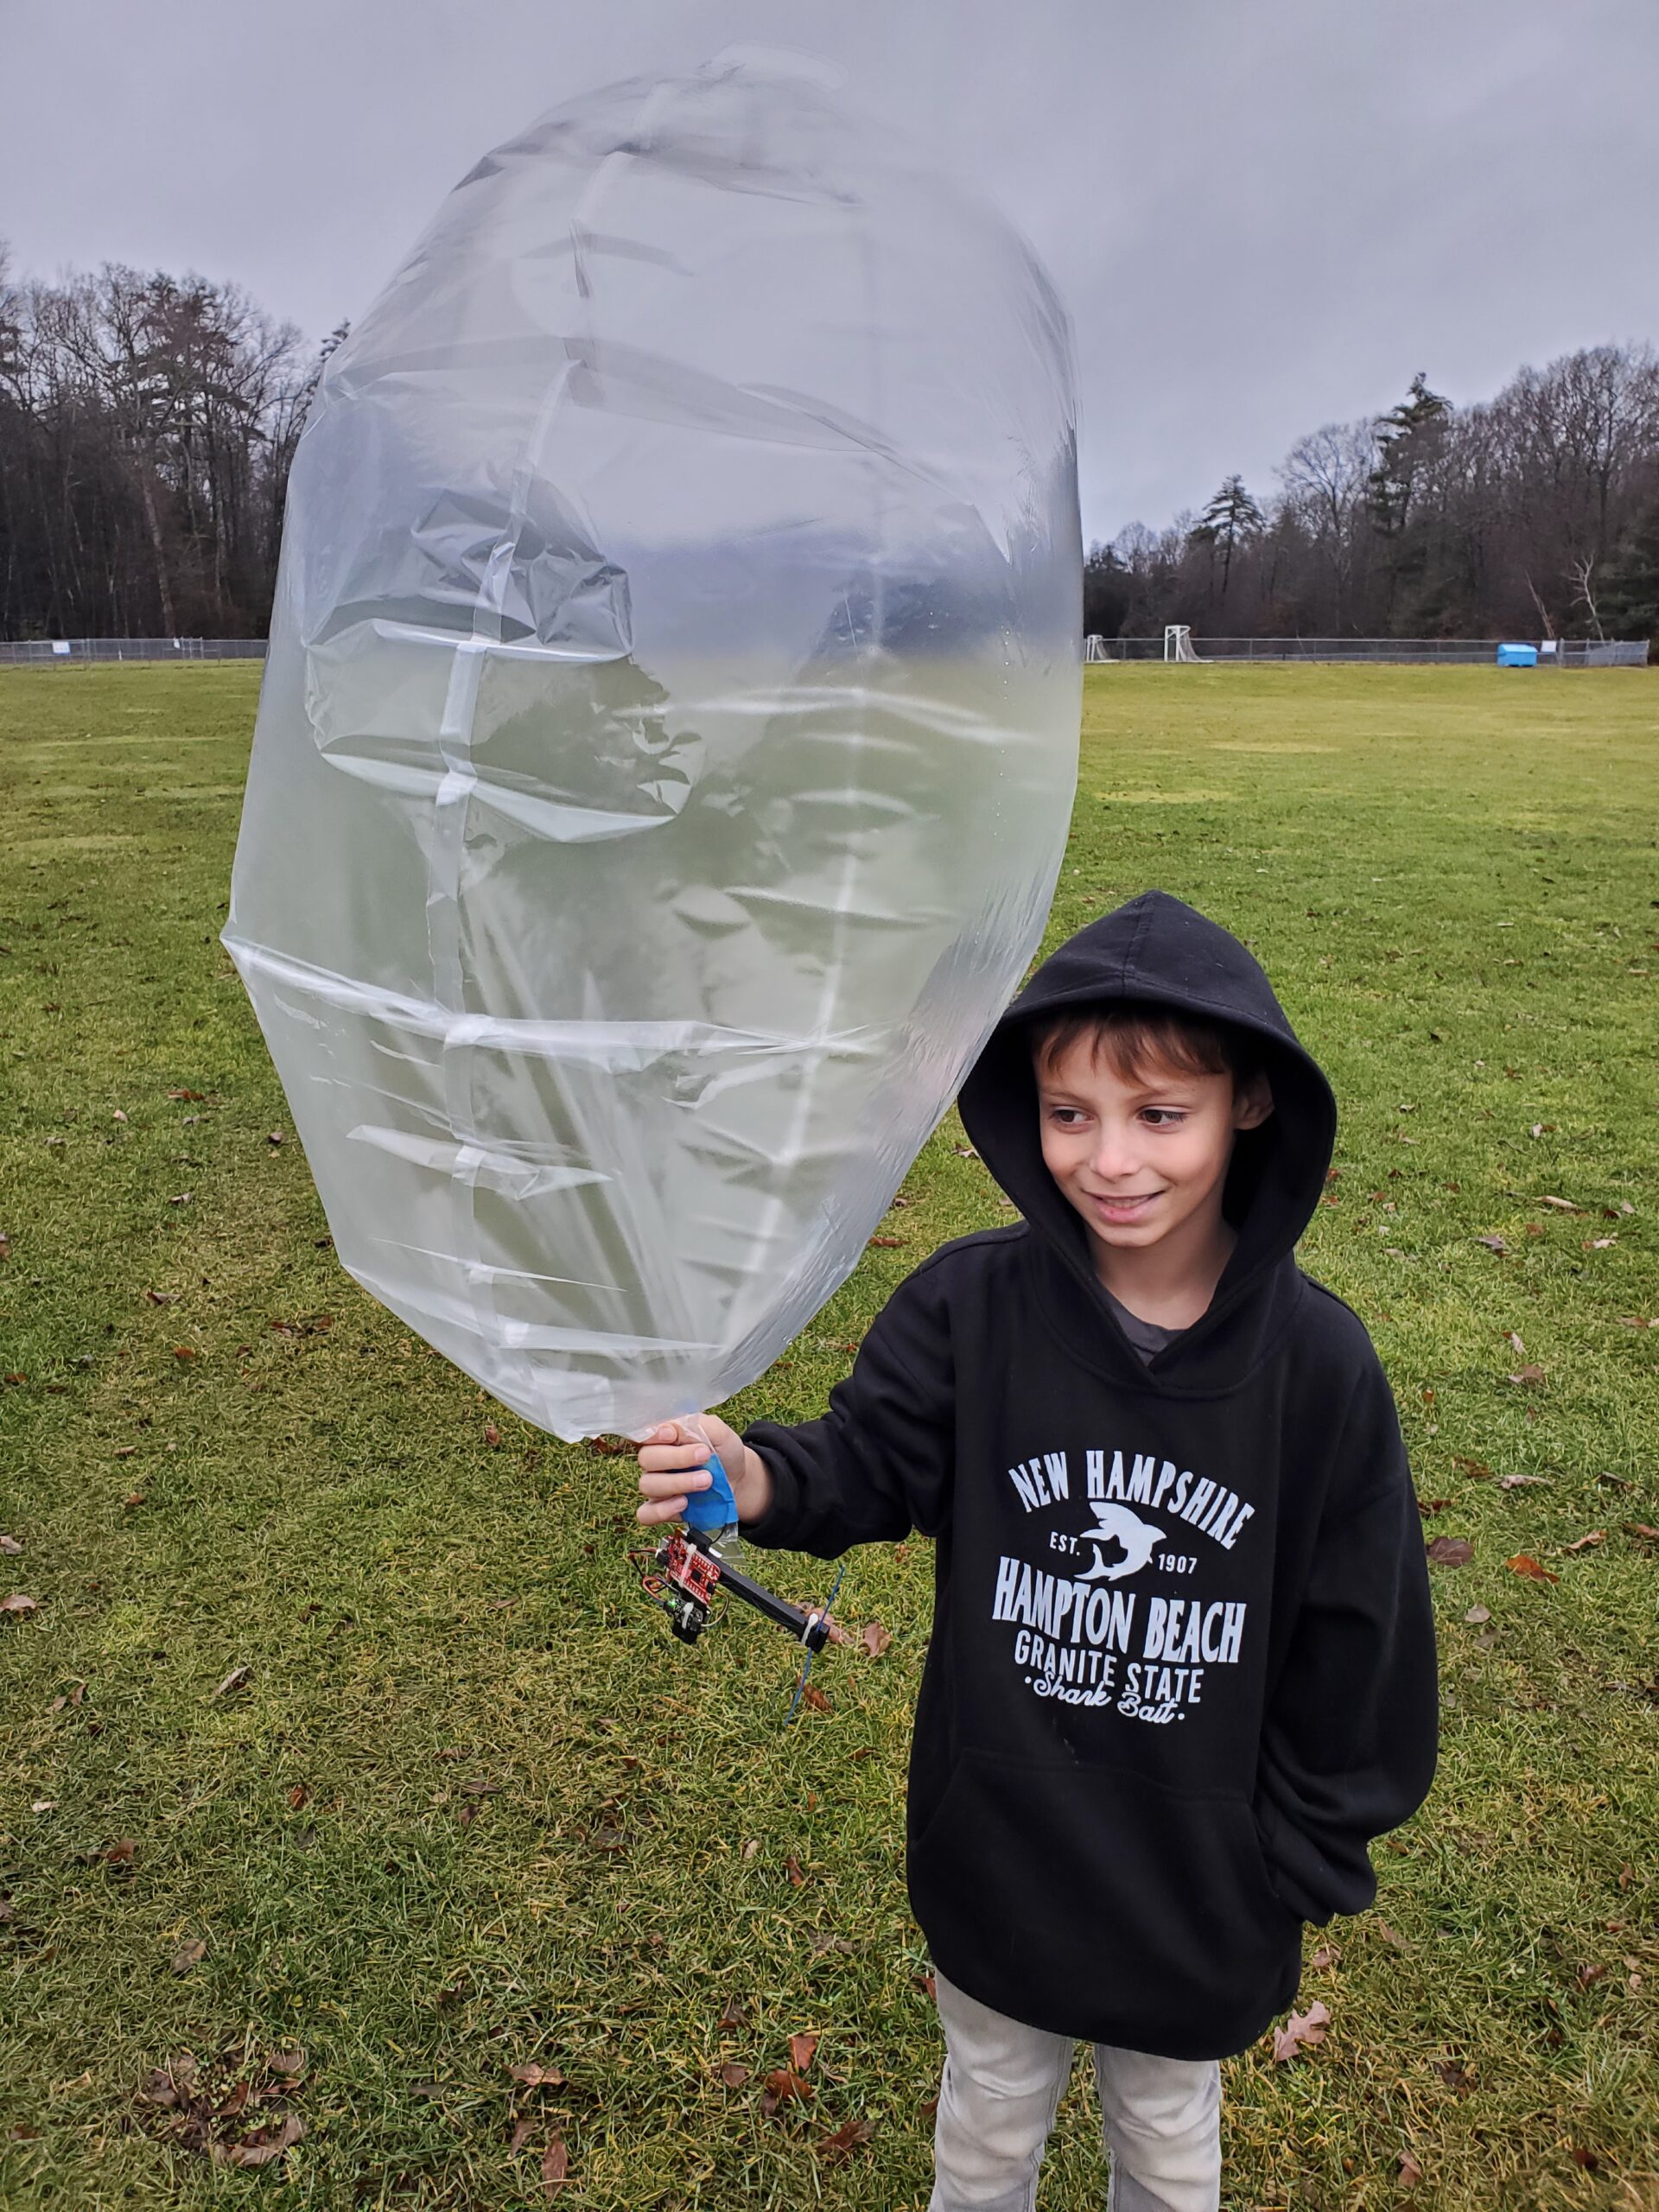
Launching the Balloon
Pick a sunny day with calm or very light winds. Wind above 10mph and or gusting winds can create problems. Launch in a large and open field with a lot of open area downwind where trees and power lines will not be an issue.
The night before launching the balloon test the transmitter and the receiver. Use the USB cables to connect both SAMD21 Pro Rf boards to a computer or other suitable power source. Make sure the GPS receiver is locked and that all readings are being updated on the display. Let it run for several hours or all night. Make sure that the batteries are fully charged. Look at the SD card to make sure the data has recorded correctly and completely. Erase the SD card and re-install it in the SD card board. The balloon can be filled or purchased the night before (see the section on filling the Balloon).
Launch Day
On the day of the launch fill and seal the balloon if you have not done so already. Check the lift (approximately 60 grams is good). Attach the transmitter to the neck of the balloon. Also fill 4 other small 9 inch latex balloons. These will be used to check the wind and air currents at the launch site. It is also suggested that you clamp the balloon to something heavy in the car when traveling to the launch site. I have had one get caught by a gust of wind when opening the car door and blow out of the car and fly away – unfortunately before it was turned on.
When you arrive at the field, launch one of the small trial balloon to find the best location on the field. Move to that location and launch another small trial balloon as a check on the wind. At this point you want to turn on the transmitter that is attached to the balloon. It may take a few minutes for the GPS to lock onto satellites. Then turn on the receiver and after a minute look for the solid light on the SD card board that indicates that the board is working correctly. When the GPS locks onto satellites the display on the receiver will display Latitude, Longitude and Altitude. Launch the 3rd trial balloon to see how much variability there is with the wind. Bring the receiver and antenna out so it is easy to access when the main balloon is launched. If everything looks good release the 4th trial balloon and then the main balloon and transmitter.
Congratulations, the balloon is in the air. Since the wind is calm or light the balloon will rise nearly vertically. Watch it carefully and take note of what direction it is going as it gets higher. Always hold the antenna vertically. The antenna on the transmitter is a dipole that is polarized vertically. The receiver will receive a very much stronger signal when the antenna elements are held vertically also. Aim the antenna at the balloon. As the balloon gets higher and further away continue to aim the antenna (always vertically) in the direction that the balloon was going. The balloon may be several miles high but it will soon be 10 or 20 miles away. Some simple trigonometry will show that you want to point the antenna 20 or 30 degrees above the horizon.
The Receiver Display
The display has 6 lines as shown below (example data is shown inside <xxx>):
- SI <-103> Sat <18>
- Alt <15840>
- Prs <540.08>
- Tmp <5.27>
- Lat <xx.xxxxxx>
- Lon <-xx.xxxxxx>
- SI: This is the received signal strength indicator. It is in units of dbm which is decibel milliwatts. Without going into a lot of math a bigger number indicates better reception. Keep in mind that the numbers will be negative so -85 is better than -105. The receiver is very sensitive and can receive data down to a signal strength of -170 or less. With the balloon 50 miles away the signal strength may be aro; und -110 to -125.
- Sat: The number of GPS satellites that the GPS receiver is detecting and using for its readings.
- Alt: Altitude in feet
- Prs: The atmospheric pressure in millibars (mb) and hectopascals (hPa) as used by the National Weather Setvice. The standard pressure at sea-level is 1013.25 in both millibars (mb) and hectopascal (hPa).
- Tmp: Temperature in degrees Centigrade.
- Lat: Decimal Latitude
- Lon: Decimal Longitude
Where is my Balloon Now
It is really a lot of fun to see where your balloon is as it gets carried miles into the sky and miles away. Of course the altitude display will tell you how high the balloon is but what is it over. You can easily see where the balloon is with Google maps on your phone or tablet. Just Google “where is xx.xxxxxx N yy.yyyyyy W” where xx.xxxxxx is the Latitude and yy.yyyyyy is the Longitude without the minus sign.
Google Maps will pop up and show you the exact point of land that your balloon is over.
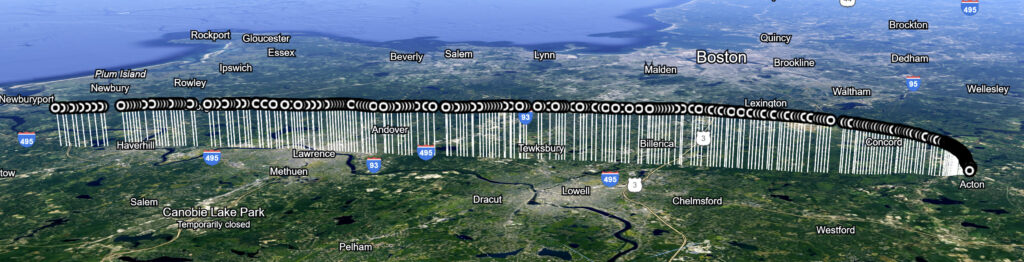
Displaying the Flight Path of the Balloon on Google Earth